Difference between revisions of "ATV500X"
(→XBMC shrank, or not full-size display) |
|||
| Line 10: | Line 10: | ||
'''Resolution: ''' 1280*720 | '''Resolution: ''' 1280*720 | ||
Built in 802.11 b/g/n WiFi | Built in 802.11 b/g/n WiFi | ||
| + | |||
| + | |||
| + | == History == | ||
| + | |||
| + | Mygica's Very First XBMC Linux Based Box, only works with Pure Linux based XBMC | ||
| + | |||
| + | |||
== Firmware & Re-flashing == | == Firmware & Re-flashing == | ||
Latest revision as of 17:00, 29 June 2015
CPU:        ARM Cortex A9
OS:          Linux KODI 14
Frequency:   800MHZ
RAM:         DDR3-512MB
Storage:     NAND 2GB
External NTFS HDD Compatible
Resolution:  1280*720
Built in 802.11 b/g/n WiFi
Contents
History
Mygica's Very First XBMC Linux Based Box, only works with Pure Linux based XBMC
Firmware & Re-flashing
The Firmware that is available for this box is,
This must be loaded using an SD Card or USB Storage Device through the Recovery Screen. Which can be accessed by using the Reset button on the bottom of the unit.
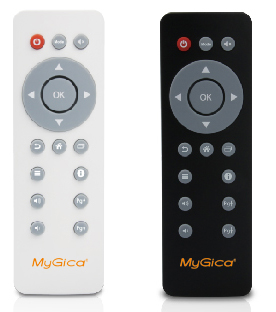
Remotes
to learn KR34 Remote click on the picture
User Manual
we will be adding the file manual soon,
Connections
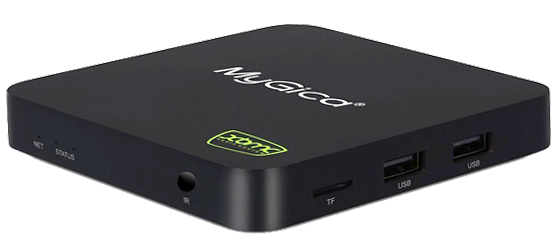
Right side:
1. MiniSD Card Slot
2. 2 USB 2.0 Ports
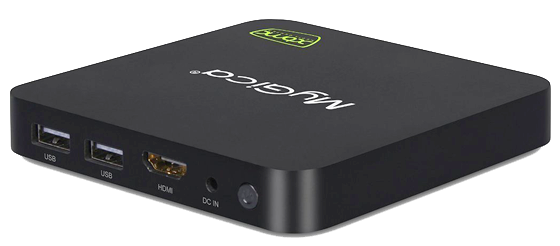
Back Side
1. 2 USB 2.0 Ports
2. HDMI 1.3 Connection
3. Power Connection 5V
4. Power Button
how to connect to Wifi
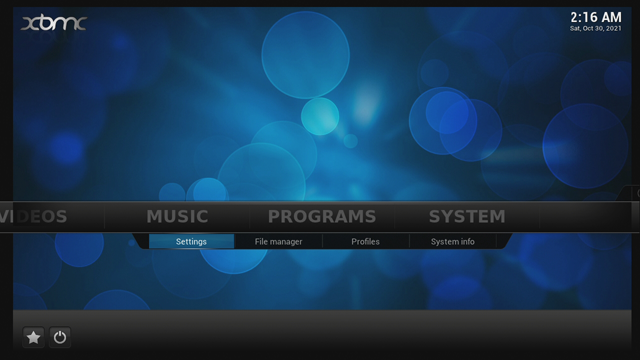
1. Scroll to System & Select Settings
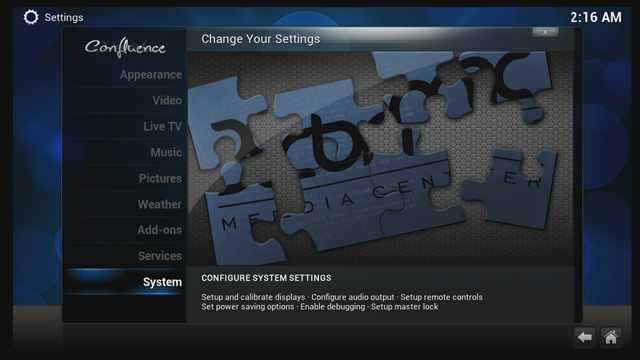
2. Select System
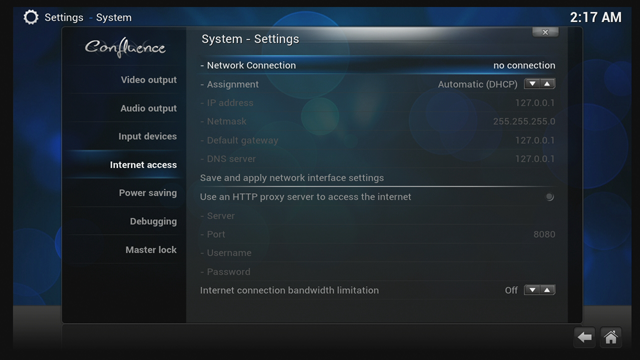
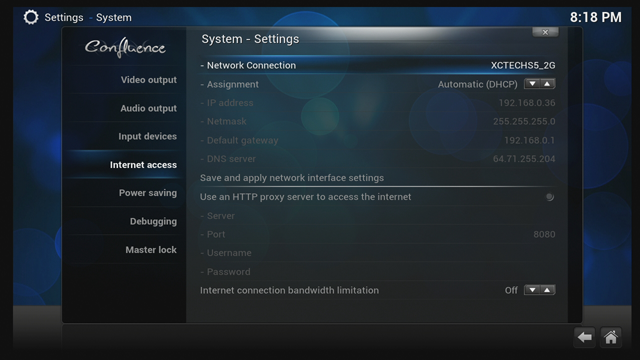
3. Scroll Down to Internet Access then scroll to the Right Select Network Connection
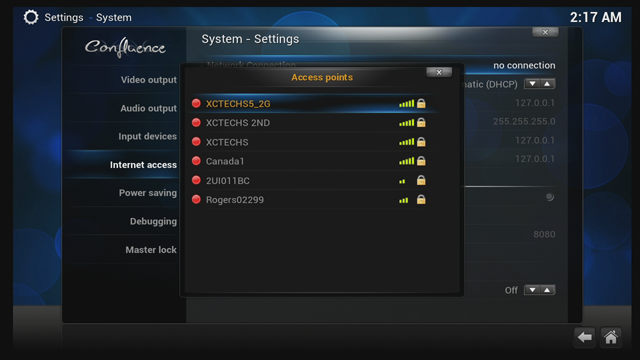
4. Select your WiFi and Click on it
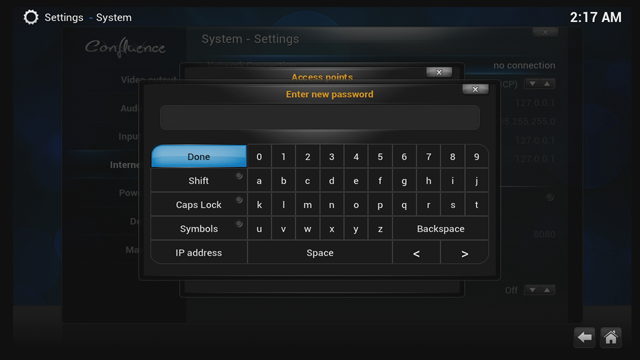
5. Enter your Password and click Done
6. You See your Wifi Name your connected too also IP Address assigned for your Box
XBMC shrank, or not full-size display
We have Video Walk through for this too
Master Reset
1. Unhook the power 2. Using a toothpick place at the back of unit for reset & then hookup the power 3. hold the toothpick for 8 to 10 seconds
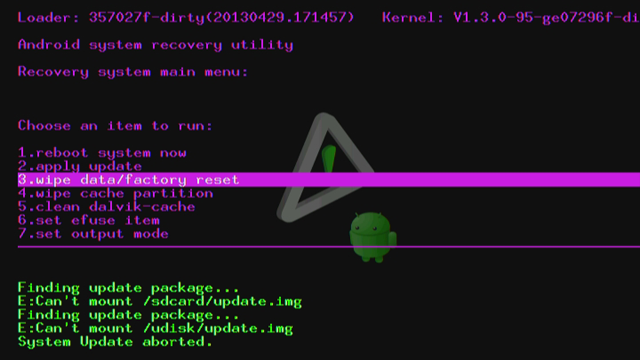
You will see this screen, the Scroll down and select "Wipe Data/Factory Reset"
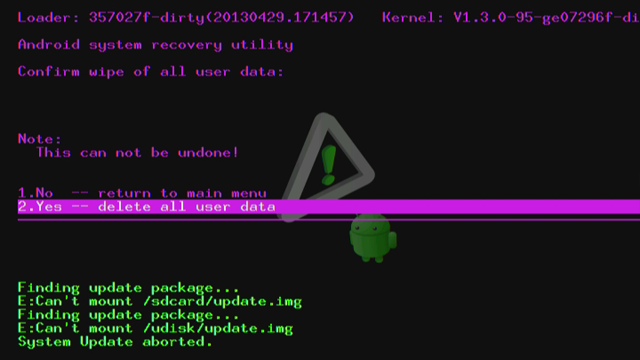
Then Next Screen Select "Delete all user data"
The Unit will reboot..
Here is Video Instruction how to process
